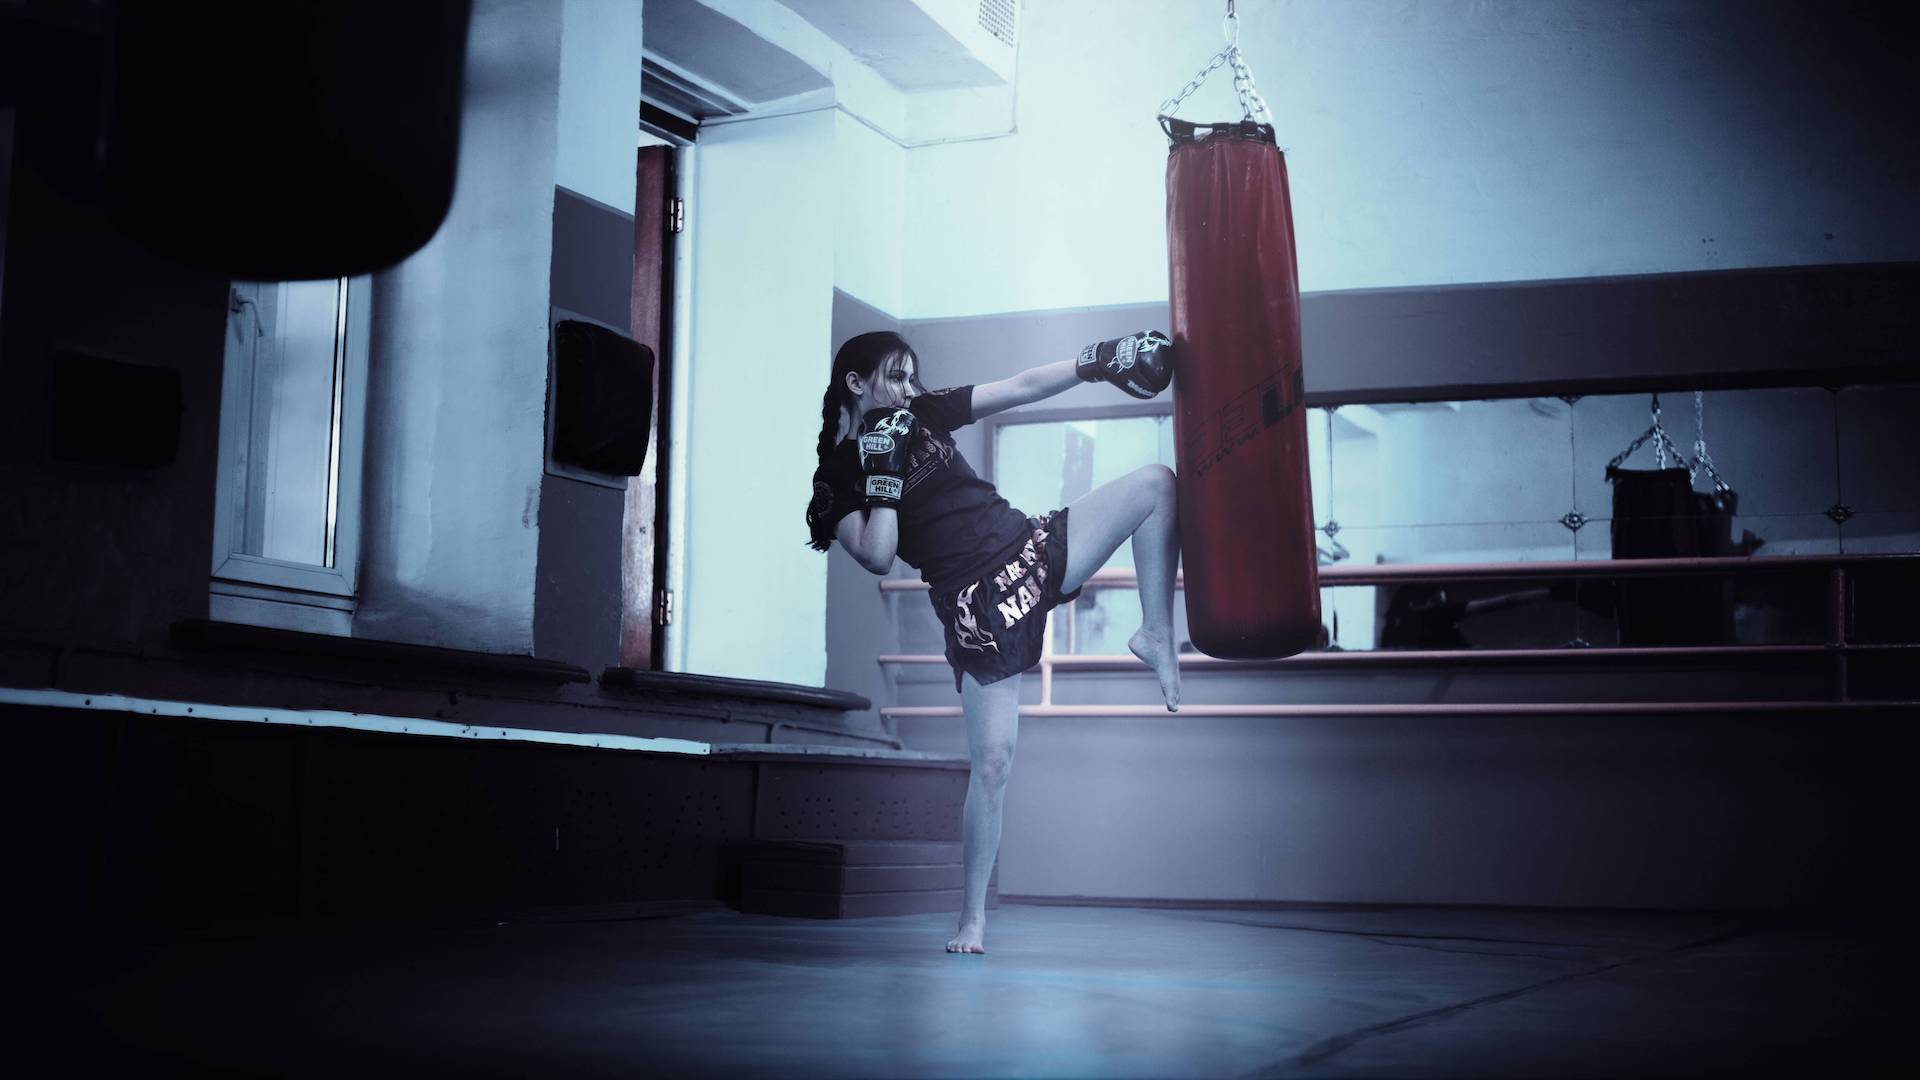


The following list is, in my opinion, the best strength movements that you should master whether a pro athlete or novice. Why? Because these movements are at the foundation of almost all strength exercises. No pictures are included because you should already know how to do these exercises and there are a great many, some done correctly and many not, on the web. The goal of this article is to make you think about technique – not only for these foundational movements, but for every exercise you do in the gym.
By mastering these movements, you will reduce your chances of injury and significantly improve your personal fitness or, if you’re a trainer, the fitness of your clients. As in most areas, fitness/strength training is all about mastering the basics.
First, let’s just look at the Top 10 foundational strength movements:
1. Body Squat – sometimes erroneously termed an Air Squat
2. Front Squat – while these are common they are most used by athletes in speed-strength training
3. Overhead Squat – this exercise originated from the Olympic Snatch Squat. When using weight (more than the Olympic 45-lb bar), this is in my opinion THE most difficult lift to perform of all and, done improperly, can seriously injure your shoulders.
4. Overhead Press – sometimes called Military or Shoulder Press
5. Push Press – generally done from a rack
6. Jerk from Rack – often erroneously called a Push Jerk
7. Deadlift – for explosiveness, substitute with a Clean Pull
8. Clean High Pull – this is another speed-strength training foundational lift
9. Medicine-Ball Clean – often used to develop technique for other ‘clean’ exercises
10. Split-Squat Jump – similar to a lunge squat, but dynamic, jumping from one lunge-type position to the next.
1. The Body Squat
Before beginning, squats are perhaps the most fundamental movement from which you will build your training foundation. As a Native American, we tend to squat by a fire while camping and out in nature rather than sit in chairs. Quite likely, if has been used naturally by every race and culture on the planet because it is a natural human movement despite all the complaints you may hear about squats hurt my knees, etc.
Advertisement: Amazon (click on photo for more info)
Believe it or not, squats and all exercises are generally healthy for the muscles, joints, and bones as they tend to increase muscle, sinew, and bone density as you increase weight loads. Most importantly, such exercises push you through a full range of motion with your muscles and joints developing healthy limbs and joints.
The nice thing about the body squat is that you can do it anywhere, but more importantly, without weight, it is a good way to improve technique for more loaded exercises. If you or a client has problems with form, try doing a body squat from a box. The box should be of enough height so that when you sit down, the thighs are slightly breaking the horizontal plane – below the plane, not above it. Then, rise to a standing position and sit down to do the next repetition. This will help those who are weak, just ensure proper form is used.
The basics of this exercise are simple. Fold your arms across your chest or let them extend in front of you, straight out, palms down as you go into a squatting position. What are you looking for in technique? Make sure your hips are fully extended in standing position – this means you’ll be standing fully upright. Then, point your toes slightly outward, with your heels directly beneath your shoulders. As you squat, let your knees track, i.e., point in same direction as your toes without going to far out or in. Also, keep your lumbar naturally curved and chest up and out. As you reach the bottom of the squat, keep your feet flat with your weight in your heels and ensure the hip crease is below the top of the knee. The hip crease is essentially where the thigh bends at the hip joint.
From the bottom of the squat, rise along the same path you descended while squeezing the glutes and hamstrings on the way up. Some of the main problems people have with a squat is failure to go deep enough, letting the shoulders slouch, and knees not tracking with the toes. The best way to overcome these problems is to let a trainer or coach assess your movement. Also, as you squat, focus your eyes straight ahead at some fixed point. Then, ensure you go deep enough and, push your butt backward like you’re sitting in a chair so that you get good depth and so your knees track with your feet. This is termed leading with the butt. This technique applies essentially to all squats.
2. Front Squat
When I first began working with the University of Colorado Coaches Donnie Maib (now at University of Texas, Austin), Doc Kreis, and Dave Plettl, I love doing squats. Before working with them I had primarily done back squats; they pushed me into doing lots and lots of front squats to build my technique. At first, I hated them because there was so much more technique to master than the basic back squat. However, they are in my opinion, the best squat you can do for overall foundation. Now I love them.
For most, the front squat is difficult. This is generally because they have less flexibility in the shoulders than is needed and thus, this makes the squat difficult until that flexibility is developed and, because you also need good wrist flexibility. The front squat is tricky for many people because of what is termed the rack position. Both shoulder and wrist flexibility needs make it difficult for the novice to perform a great front squat. But, practice makes perfect. The flexibility of the wrists and elbows makes it nearly impossible to hold a perfect front squat position for many new athletes.
Another mistake is attempting to hold the bar during the squat. This is difficult as the bar tends to push away from the body thus, increasing the weight load and creating bad form. With good wrist and shoulder flexibility, the elbows point straight forward allowing the bar to rest atop the shoulders and inner delts (this is called the rack position and the elbows should point straight forward with palms up to slightly facing toward your back – fingers beneath the bar). To make matters worse, proper technique seems to disappear at the bottom of the squat where you must stop, hold, and balance the weight load before standing to the starting position.
Approach the bar and position the barbell across your anterior deltoids. There are two ways to grasp the bar. For beginners, hold your upper arms parallel to the floor, bend your elbows, cross your forearms (the bar will be resting on your anterior deltoids and your hands will be palm down on the bar right hand over left shoulder and left hand over right shoulder). For the advanced lifter, you will grasp the bar with your hands about shoulder width apart, looking straight ahead. Relax your grip on the bar so that your palms face up and the bar rests atop your anterior deltoids. Next, force your elbows forward and up so that your upper arms are parallel to the floor. Regardless of which position you use, your elbows must always remain parallel to the floor or the weight will move forward and roll away from your body. This can cause severe injury.
1. Inhale and squat down until your legs are about horizontal, i.e., your upper thighs, to the floor.
2. Return to the starting point, exhale as you complete the movement.
3. Begin next repetition.
Notes: Avoid injury: you must not bend forward while squatting; keep your back perfectly straight with the weight in your heels. You can wear hard soled weight shoes or rest your heels on a block of wood to improve your balance. However, be certain not to move your knees too far forward for safe lifting.
This type of squat places primary emphasis on the quadriceps. Use a weight load about 50 to 60 percent of your back squat until you feel comfortable with this exercise.
This exercise will also work the gluteals, hamstrings, abdominals, and spinal erectors.
Some of the keys are to get the back of the arms parallel with the floor, keep elbows up while squatting and ensure they point forward and slightly up in the bottom of the squat so the weight doesn’t roll forward off your shoulders. Keep your eyes up and keep weight racked atop shoulders. As with all squats, let your knees track to the direction your toes are pointed, which should be slightly outward. And no matter what, keep the elbows up in the bottom of the squat and the hip crease beneath the top of the knee. The bottom of the squat is the most difficult, especially if you do not have shoulder and wrist flexibility. From the bottom, stand along same path you descended, using glutes and hamstrings on the way up.
3. Overhead Squat
The overhead squat is difficult to say the least but can be mastered. It originally came from the Olympic Snatch Squat, which is the most difficult lift on the planet in my opinion. However, shortening in this way, allows one to work on the squatting mechanics and balance of the bar while overhead. This foundational movement with strengthen multiple joints and generally, the entire body. But, eat your Wheaties because this exercise requires a great amount of skill to execute.
When I work with a new client, I do not let them use a bar at all instead, I have them use a six foot, martial arts, BO-staff. We also use the same for warm-up exercises of this movement. With almost no weight load, you can evaluate more easily weakness in technique. Whether you’re coaching, a trainer, or a client look for balance, flexibility, and strength in the movement. One key to remember is, if it doesn’t feel right to you then, you’re likely performing it with poor technique.
Because this exercise works so many muscles, particularly the abs, mastering is will help you obtain great strides in your fitness goals. If you really wish to accept a challenge, perform the full snatch squat, because with the overhead squat, you’re only doing the last 3 pictures in the description listed in the link. You can also make it more difficult, especially in balance terms, by using dumbbells instead of a straight bar. Generally, you want to have a wide stance and wider grip on the bar. Also, lock your shoulders up toward the ceiling.
To begin, stand up straight, with a bar or dumbbells directly overhead, arms near locked position, shoulders locked upward.
The front bar should line up with the back of the head). In this position the feet should be flat on the floor, keeping weight in heels as you squat.
Squat to full depth. The bar position should align with the back of the head and middle of the foot. Keep elbows locked out, shoulders locked up, eyes forward, feet flat with weight in heels, and hip crease beneath knee height. Once at depth, hold for 2-3 seconds, ensuring you have your balance and stand up with the arms locked out fully above the head, weight in hand. You’ll need lots of hip and leg power to stand.
Both hip and shoulder flexibility will determine foot width and grip width on bar.
4. Overhead Press
The overhead press is also termed the Military or Shoulder Press. It is a strict press that is too often neglected. A great many have been injured due to the strictness of the movement, but that is generally when using a sitting position. A good position to avoid injury is to perform the press standing.
If you want to have great upper body strength and develop more explosive power, this press is excellent because it will also help develop the hip flexors, hip extensors, spinal erectors, and quadriceps. And, if you are an athlete or desire to be one; this lift is key to your development.
This exercise has been around for decades and will build strong shoulders. Hence the name ‘shoulder press’ in cross-fit circles. It is however one of the primary exercises for bodybuilding.
1. Stand or sit with your back straight. Take an overhand grip on the barbell and rest it on your upper chest/shoulders. The best way to do this is to have the bar on a squat rack about shoulder height so that it is easy to remove, step back from the rack and ensure your balance.
2. Inhale and press the barbell straight up.
3. Exhale at the top of the movement. Return to starting position and repeat the next repetition.
This exercise works the anterior and medial deltoids, upper pectorals, upper trapezius, triceps, and serratus anterior. This exercise is king of all shoulder development exercises.
You can perform this exercise while standing, but you must avoid hyperextension of the spine. Also, while standing, you can drop the weight behind the head/neck. However, the load becomes much heavier and the movement is more isolated. Doing it behind the neck creates numerous injuries and is not recommended as there are safer exercises for the behind-the-neck movement.
Place your elbows slightly forward for more work to the anterior deltoids.
To involve the medial deltoids more intensely, flare out your elbows. Many machines and racks allow you to perform this movement with less concentration on the correct position. This will help you focus on the deltoids. An excellent machine for this exercise is the Smith machine.
Variations can include a narrow grip with your elbows forward, which primarily works the anterior deltoids and upper pectorals. Also, a wide grip with your elbows flared out, which primarily works the anterior and medial deltoids.
WARNING! When sitting or doing it very strictly, this is one of the more injury-prone exercise in the gym thus, take precautions not to lift too heavy. To reduce chance of injury, let knees bend down so that you dip slightly then, push upward straightening the knees as you also push the weight, like a push press. This will help lessen rigidity of a static weight and gain just a little momentum so that you are not pushing from a pure static position.
Advertisement: Amazon (click on photo for more info)

A common problem is failure to extend the elbows at the top of the lift, i.e., fully pressing the arms out. When overhead, the bar should be in a direct line with the spine and mid-foot/ankle, almost as if you were standing against a wall. Do it slow and methodically so that your shoulders are straight up and you are not pushing your head too far forward.
5. Push Press (from Rack)
If you want to develop great upper body strength and power, as well as hip and core power, this exercise is awesome. This was one of Arnold’s favorite lifts for shoulder and arm bulking. In this movement, you add the hips to help push, which allows greater weight loads for greater strength gains.
This exercise is a phase version of the clean and press. It is part of the phase training in speed-strength to increase technique proficiency for the full clean and press. It is much easier to do since it is done from a squat rack. Or, if you wish, you can clean the weight from the floor to your shoulders without using a rack. If you clean the weight from the floor and simply stand, the movement is termed a push press since no rack is involved. Dumbbells can also be used instead of a straight bar.
1. Place a straight bar on a squat rack and load the appropriate amount of weight. The bar should be low enough so that you need to flex your legs to get under it and lift it off the rack. The grip you will use is about the same width as your power clean, clean pull, etc., i.e., generally thumbs of hands just inside shoulders.
2. Once you have lifted the bar off the rack, step back so the rack is not in your way. Usually 1/2 – 1 step is enough. After stepping back, the bar should be resting across the clavicle or collar bone with the elbows pointing out and not down; this will help build technique, although many lifters position the elbows more toward the down position for this part of phase training.
3. Dip your body by flexing your knees (1/5 to ¼ squat depth) then, while pressing upward, drop your body so that you smack the floor with your heels hard, hearing a popping sound as you fully extend your hands above your head, driving with your hips and legs. You should have your feet about shoulder width apart. Also, make sure to have your chin back so that you do not hit it with the bar. Been there done that and not an experience you want to have.
4. Lower the weight to your shoulder then, perform the next repetition. You will not set the weight on the rack until all repetitions for the set are complete.
Just like a front squat, make a shelf with your shoulders to rest the weight on and keep the back of your arms parallel to the floor with elbows pointed straight ahead and eyes focused forward.
6. Jerk from Rack
The jerk from rack, also erroneously termed a push jerk adds a jump and dip landing to the push press. Essentially, you’re doing a push press while dropping into a front lunge position or split squat. Consequently, the skills necessary take longer to develop for perfection. You will need lots of practice, timing and balance to do it well. With this lift, you can generally lift about 60% more weight than with an overhead press because you are literally sinking beneath the weight before stabilizing it.
This exercise is a modified version, i.e., phase, of the clean and jerk. It is part of the phase training in speed-strength to increase technique proficiency for the full clean and jerk. In the cross-fit arena it is sometimes called a split jerk or push jerk, which is a misnomer. This exercise is much easier to do since it is done from a squat rack. And, like the clean and jerk, because you are using one leg as the power base in this exercise, the maximal weight is generally one-half what you do with a front squat. And, in case you do not know how much, a front squat weight load is not more than 80-85% of what you do for a back squat.
1. Place a straight bar on a squat rack and load the appropriate amount of weight. The bar should be low enough so that you need to flex your legs to get under it and lift it off the rack. The grip you will use is about the same width as your power clean, clean pull, etc., i.e., generally thumbs of hands just inside shoulders.
2. Once you have lifted the bar off the rack, step back so the rack is not in your way. Usually 1/2 – 1 step is enough. After stepping back, the bar should be resting across the clavicle or collar bone with the elbows pointing out and not down; this will help build technique, although many lifters position the elbows more toward the down position for this part of phase training.
3. Dip your body by flexing your knees then, while pressing upward, drop your body so that you are in a full lunge or split-squat position while your hands are extended above your head. Your trailing legs knee should be about 4 inches off the floor and your front legs thigh should be approximately horizontal with the floor.
4. Slide your leading leg back about 6 inches, ensure the weight is stabilized then, step up with the rear leg/foot so it is next to your front leg. You should have your feet about shoulder width apart.
5. Lower the weight to your shoulder then, perform the next repetition. You will not set the weight on the rack until all repetitions for the set are complete.
Due to the balance, strength and needed skills, you need to practice this with light weight loads initially before moving to heavier weight loads. Just like other lifts, the heavier you go, the better your technique must be so, use caution when increasing your weight loads for this exercise.
7. Deadlift
In many ways, the deadlift is a phenomenal lift because it activates, likely, more muscles on your body than any other lift. However, if you’re an athlete, you may want to consider the clean pull, which is a version of the deadlift, but also a combination of about 7 lifts. The clean pull is also dynamic while the deadlift is static. But, let’s focus on the deadlift (note, if you’re into CrossFit, the deadlift is very similar to the tire flip).
The deadlift is great for overloading the muscles, which is the primary way you build more muscle mass (the secondary method is to do lots and lots of reps with low weight). Because of the overload potential, the deadlift (and clean pull) activates interdependent muscle groups, as well as muscles that can remain dormant due to lack of enough overload on them. Also, if you want to build great buttocks and thighs, the deadlift, combined with front and back squats will help do that superbly.
Many people and trainers claim the deadlift is not safe, but it is. The problem is, many of us simply get too competitive in the gym and try to do more than the gym buddy next to you. That is a huge mistake. Like any other lift, work within your comfort zone for weight loads and increase loads slowly. Too much, too fast almost always results in injury because you do not normally have the technique to do the heavy weight load properly. Remember, the gym is always there and you should be persistent in your goals. You’ll get there.
To begin, approach the bar and stand facing the bar with your feet a little less than shoulder width apart.
Keep your back motionless and a little arched. Flex your knees until your thighs are about parallel to the floor.
Depending on your physique and the flexibility of your ankles, you can vary this position by adjusting the width of your stance. Take an overhand grip on the bar (the palms of your hands will be toward your shins), with your hands slightly more than shoulder width apart.
1. Inhale and contract your abdominal and lower back muscles. Lift the bar by straightening your legs, raising it in front of your shins.
2. When the bar reaches you knees, extend your torso so you are standing erect with your arms straight down at your sides. Exhale as you complete the movement.
3. Hold the erect position for about 2 seconds then, return the bar to the floor. Be careful not to hyperextend or arch your back.
This exercise is a full-body exercise, working almost every muscle. It builds great hip, lower back, and trapezius muscle mass and involves the buttocks and quadriceps. Combined with the bench press and the squat, this trio comprises the exercises performed for power lifting competitions.
Some points you need to consider. First, the bar, on approach, should touch your shins or be approximately one inch from them. As with squats, let the knees track with the toes, keep feet flat on the floor, and keep your lumbar curved slightly and locked in. It helps to inhale for lumbar support prior to the lift and then, exhale upon completion. If you’re worried you may hurt your back, consider wearing a weight belt for support. But, bear in mind that by always wearing a belt, you can keep some muscles in a weakened state, which is why it is preferable to slowly build your weight load, beginning with a load you can handle initially.
Your hip, grip and shoulders should make a triangle and your eye focus should be about 45 degrees downward; do not look up as in other lifts. Pull the bar along the shins until it clears the knees then, activates the hips as you continue to pull driving the weight through the heels. Your chest will remain up through the entire movement and at the end of the pull, your hips will fully extend. Finally, let your hips relax backward so the bar can pass the knees. Once the bar is past the knees, squat down until bar is lowered to starting position.
Advertisement: CytoCharge (click on photo for more info)

8. Clean High Pull
The clean high pull is an exceptional lift but requires good technique to execute. It is done in phases and is one of my favorite speed-strength lifts for building explosive power and lean muscle mass. It is like doing a deadlift, calf raise, and upright row all at once, but very explosively. It does a tremendous job at building and enhancing fast-twitch muscle fibers. And for ladies who want to be lean and mean without building bulk, this lift is the ticket. Many people avoid it because it requires much more technique than doing the lifts separately.
Phase 1:
This is the first pull. The first pull begins at the middle of the shin and ends at the top of the knee cap. Once again, posture must be correct, arms straight, heels flat, chest up, knees pushed out and eyes straight ahead. The grip for the power clean should be one to two hand grips outside the shoulder to allow for a proper rack (see photos below).
Phase 2:
The second pull: begins at the top of the knee cap and ends at mid-thigh (just as with the snatch). This is the most explosive part of the lift. The arms are still straight, and the bar is as close as possible to the body. The feet should begin to leave the floor while shrugging at the same time (again, as with the snatch).
Phase 3:
This phase is called the high pull. It begins at mid-thigh and ends about chest level.
At this point, you should again be fully extended, on the toes, elbows are bent and pointing upward (not back or down). Make sure that the arms remain straight until this phase is reached. If you bend the arms before this phase, you will lose leverage and speed.
Some things you need to watch for. Form a triangle with the grip, hips, and knees and keep your lumbar curved as described above. As you lift, lock your lumbar curve. As a note, many people who injure themselves with the deadlift and similar lifts such as this one does one primary thing wrong. This is as they lift, they let their back bend and pull with their arms then, the legs. Therefore, you form the hip, grip, knee triangle – all lock together to pull in one motion, not a pull from the arms, push from the legs or bend of the lumbar. Lock all together for one, solid pull. As before, keep the bar close to the shin, don’t let it move away from the body – this increases weight load and strain and develops poor technique. You should shrug so powerfully in the high-pull position, while you’re on your toes, that it feels like you’re snapping your neck off, well not quite, but it should be strong.
If you do not want to build speed but concentrate mostly on muscle mass, you can try to keep your feet flat on the floor at the high pull position, but I believe you’ll find the lift much more interesting if you do it with proper technique and, done properly it will allow significantly more weight to be added. This is one of my very favorite lifts.
9. Medicine-Ball Clean
The medicine ball clean is not a simple movement, but complex. It is much like an Olympic power clean, except you are using a ball instead of a bar with weights on it. This is actually a good exercise to perfect before moving to a full power clean. Considering the previous foundational lifts, the medicine ball clean is more complex and thus, requires better technique to master.
Think of the deadlift as you approach the medicine ball on the floor in front of you. Lock your lumbar the same as in the deadlift as you have squatted down and put your hands on the outside of the ball. The stance is wider than a deadlift and similar to that of a sumo deadlift or snatch squat.
Now, think of doing the clean high pull as you keep your chest out and pull the ball upward to the chest, hips out as you sink into a squat position. You are in the same position as a front squat, with the hip crease below the top of the knees and the medicine ball in front of your chest, eyes focused forward and backs of elbows almost or touching the inner knee(s). There is some disagreement among trainers with the ball. You can either let your hands spin around the ball as you perform the movement or, let the ball rotate with your hands. I believe you should do whichever is more comfortable. The reason for this is because a medicine ball, compared to an Olympic bar with plates on it, is so much lighter. Thus, you can still maintain good technique using either method.
From the squatting position, stand and you have completed the movement. Drop the ball and perform the next repetition.
10. Split-Squat Jump
The split-squat jump is one of my favorite exercises as well. It is great for keying the muscles to develop rapid lower body reflexes, build fast-twitch muscle fibers, and build great thighs and buttocks. I generally do it weighted with up to 70-lb dumbbells in each hand. However, as you begin, please take is slowly and do not use weights.
The split-squat jump is an anaerobic exercise and does not create the burn a lunge does, but focuses on building the leg muscles and developing great ankle, knee and hip joint strength.
Before trying it, think about doing a front lunge, stepping forward with the right foot then, stepping forward with the left so that you have done a lunge on each side. Now, instead of that movement, think about jumping into a front lunge with the right leg instead of stepping, from that lunge position, jump into the air and switch your legs so you now land left leg forward into a left front lunge-type position. The difference is in the dynamics and the fact that physically, you are not moving forward do laps with lunges. Enough said, let’s do it!
This exercise is a lower-body explosive, plyometric; by those first involved with the exercise it is also often referred to as a scissor jump. Initially, you should perform this exercise with your hands resting on your hips and using no weight. As your body becomes accustomed to the intensity, you can add a dumbbell weight of your choice in each hand, just don’t go from zero weight to 40 lb dumbbells in each hand – work your way up.
1. Begin by standing with your hands on your hips and your feet less than shoulder width apart. Think of stepping into a lunge position, because that is the position you will be in when you land.
2. Without hesitation, jump into the air and land, left leg forward into a lunge position.
3. Immediately, jump back into the air coming down so that your right foot is forward.
4. You have completed one repetition, i.e., each leg must be forward into the front/lunge position. As a note, I often see this exercise done from standing, jumping into a lunge, standing again, and jumping into lunge again – this is wrong; do as prescribed in this description.
5. Instead of coming back to the standing position each time, you simply jump up and switch the forward foot for each movement. Only when finished with all the reps will you stand to normal starting position. The count for the reps is done each time the left leg hits, just make sure on the last one to jump once more onto the right leg forward.
While like a front lunge in some ways, this exercise is much more dynamic. With a lunge you are only putting your body weight onto your forward leg and, if you consider a simple 50/50 weight distribution and weigh 150 lbs then, each leg has 75 lbs of weight on it once in the lunge position. However, when you are performing ballistics or plyometrics, there are several things you need to consider in terms of weight load based upon physics. For example, your velocity upon impact, rate of deceleration, G-force and other factors depending on how high you jump, the surface you land on, quality of workout shoes, etc.
I will not bore you with the math, but considering these parameters, when you perform a split squat, you are applying approximately 2x your body weight upon landing – on average and perhaps more. Therefore, if you weigh 150 pounds, upon landing you are exerting 300 pounds or 150 pounds per leg if you consider a weight distribution and, you’re doing this over and over. Thus, you can see why you do not want to add weight initially as the force of impact is already significant. The split-squat jump can help you jump light years ahead of your competition in terms of athleticism, lean muscle mass, and balance and agility.
All 10 of these foundational movements are the foundation for almost every lift you perform in the gym. Master them and you’ll become far better than you ever imagined in the gym and in achieving your goals. You will not hit those dreaded plateaus nearly as often. If you’re a coach or trainer, master these, you’ll become truly world class and your clients with talk about how awesome you are. After all, these really are fundamentals and to be a master, you must master the fundamentals. And, if you can do these well, you can do everything in the gym well. If you need help, drop me a note, I’m always around training somewhere.